
先日、CentOS7にNGINXとPHP8をインストールしました。サンプルページを表示することはできましたが、PHPを必要とするページの表示は確認していませんでした。
そこで、ワードプレスなどPHPを使用するCMSなどの設定をするにあたり、仕組みを見ていこうと思います。
最初にNGINXの設定ファイルがどこにあり、どのような動作をするか確認します。
/etc/nginx/にある「nginx.conf」というファイルを見てみます。
cat /etc/nginx/nginx.conf下のほうに次の内容が記述してあることがわかります。
include /etc/nginx/conf.d/*.conf;
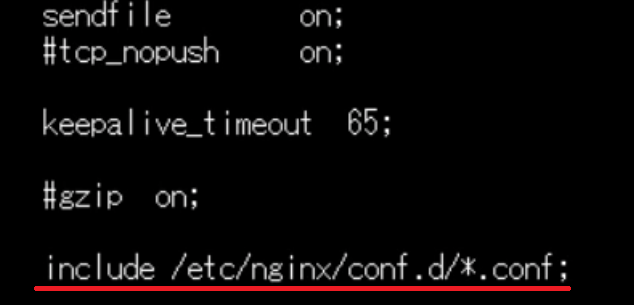
このディレクトリにある「.conf」ファイルを読み込みなさいという表記です。
対象ディレクトリに移動してファイルを確認しましょう。
cd  /etc/nginx/conf.d
ls
default.confというファイルがありました。
内容を確認します。
cat default.conf次の内容が記述してあります。
server {
    listen       80;
    server_name  localhost;

    #charset koi8-r;
    #access_log  /var/log/nginx/host.access.log  main;

    location / {
        root   /usr/share/nginx/html;
        index  index.html index.htm;
    }

    #error_page  404              /404.html;

    # redirect server error pages to the static page /50x.html
    #
    error_page   500 502 503 504  /50x.html;
    location = /50x.html {
        root   /usr/share/nginx/html;
    }

    # proxy the PHP scripts to Apache listening on 127.0.0.1:80
    #
    #location ~ \.php$ {
    #    proxy_pass   http://127.0.0.1;
    #}

    # pass the PHP scripts to FastCGI server listening on 127.0.0.1:9000
    #
    #location ~ \.php$ {
    #    root           html;
    #    fastcgi_pass   127.0.0.1:9000;
    #    fastcgi_index  index.php;
    #    fastcgi_param  SCRIPT_FILENAME  /scripts$fastcgi_script_name;
    #    include        fastcgi_params;
    #}

    # deny access to .htaccess files, if Apache's document root
    # concurs with nginx's one
    #
    #location ~ /\.ht {
    #    deny  all;
    #}
}
コメント扱いになっているところは、PHPをインストールした時に追加された内容です。
また、ドキュメントルートは/usr/share/nginx/htmlであることがわかります。
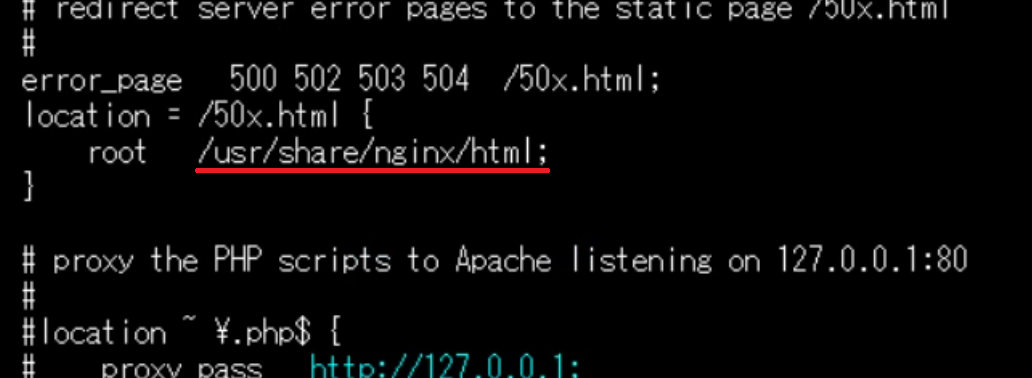
そのディレクトリにはサンプルページを表示するHTMLファイルがあります。
これらをふまえたうえで、PHPが正常に動作するようにします。
default.confを使い回すことにします。エディタで編集します。
vi default.conf

変更
location / {
    root   /usr/share/nginx/html;
    index  index.php index.html index.htm;
}
「index.php」を記述して、優先順位を最初にします。index.phpが無い時はindex.htmlが読み込まれます。また、次のコメント扱いの#を外します。
    #location ~ \.php$ {
    #    root           html;
    #    fastcgi_pass   127.0.0.1:9000;
    #    fastcgi_index  index.php;
    #    fastcgi_param  SCRIPT_FILENAME  /scripts$fastcgi_script_name;
    #    include        fastcgi_params;
    #}
NGINXの設定の良し悪しを確認して、再起動します。
nginx -t
systemctl restart nginx
次はphp-fpmの設定をします。
以前、PHPをインストールした時は、/etc/php-fpm.d/に設定ファイルがあったのですが、見つかりません。
検索してみます。
find /etc -name '*.conf'すると、/etc/opt/remi/php80/php-fpm.d/にあることがわかりました。ファイル名は、「www.conf」です。

userとgroupが、apacheになっているので、nginxに変更して再起動します。
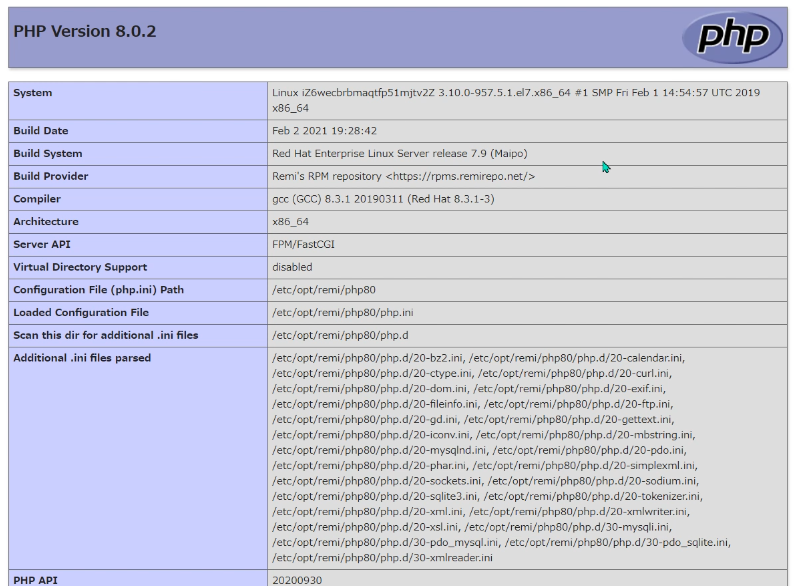
systemctl restart php80-php-fpm動作確認のため、ドキュメントルートにPHPファイルを作成します。記述内容はPHPの状態を確認する内容を記述します。
vi /usr/share/nginx/html/index.php

記述内容
<?php phpinfo(); ?>
ブラウザでアクセスして確認してみます。エラーが発生しました。
File not found.
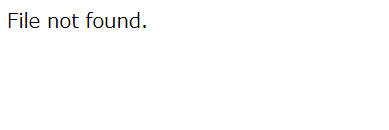
色々調べてみると、default.confにおいて、rootの「html」をドキュメントルートである「/usr/share/nginx/html」に変更し、さらに、「/scripts」を「$document_root」に変更すればいいことがわかりました。nginxを再起動して再度観覧してみます。
今度はうまくいきました。
あとは実用的に使用できるようにphp.iniの内容を変更しておきます。
/etc/opt/remi/php80/にファイルはあります。
post_max_size = 50M
upload_max_filesize = 50M
date.timezone = “Asia/Tokyo”
mbstring.language = Japanese
mbstring.internal_encoding = UTF-8
コメント